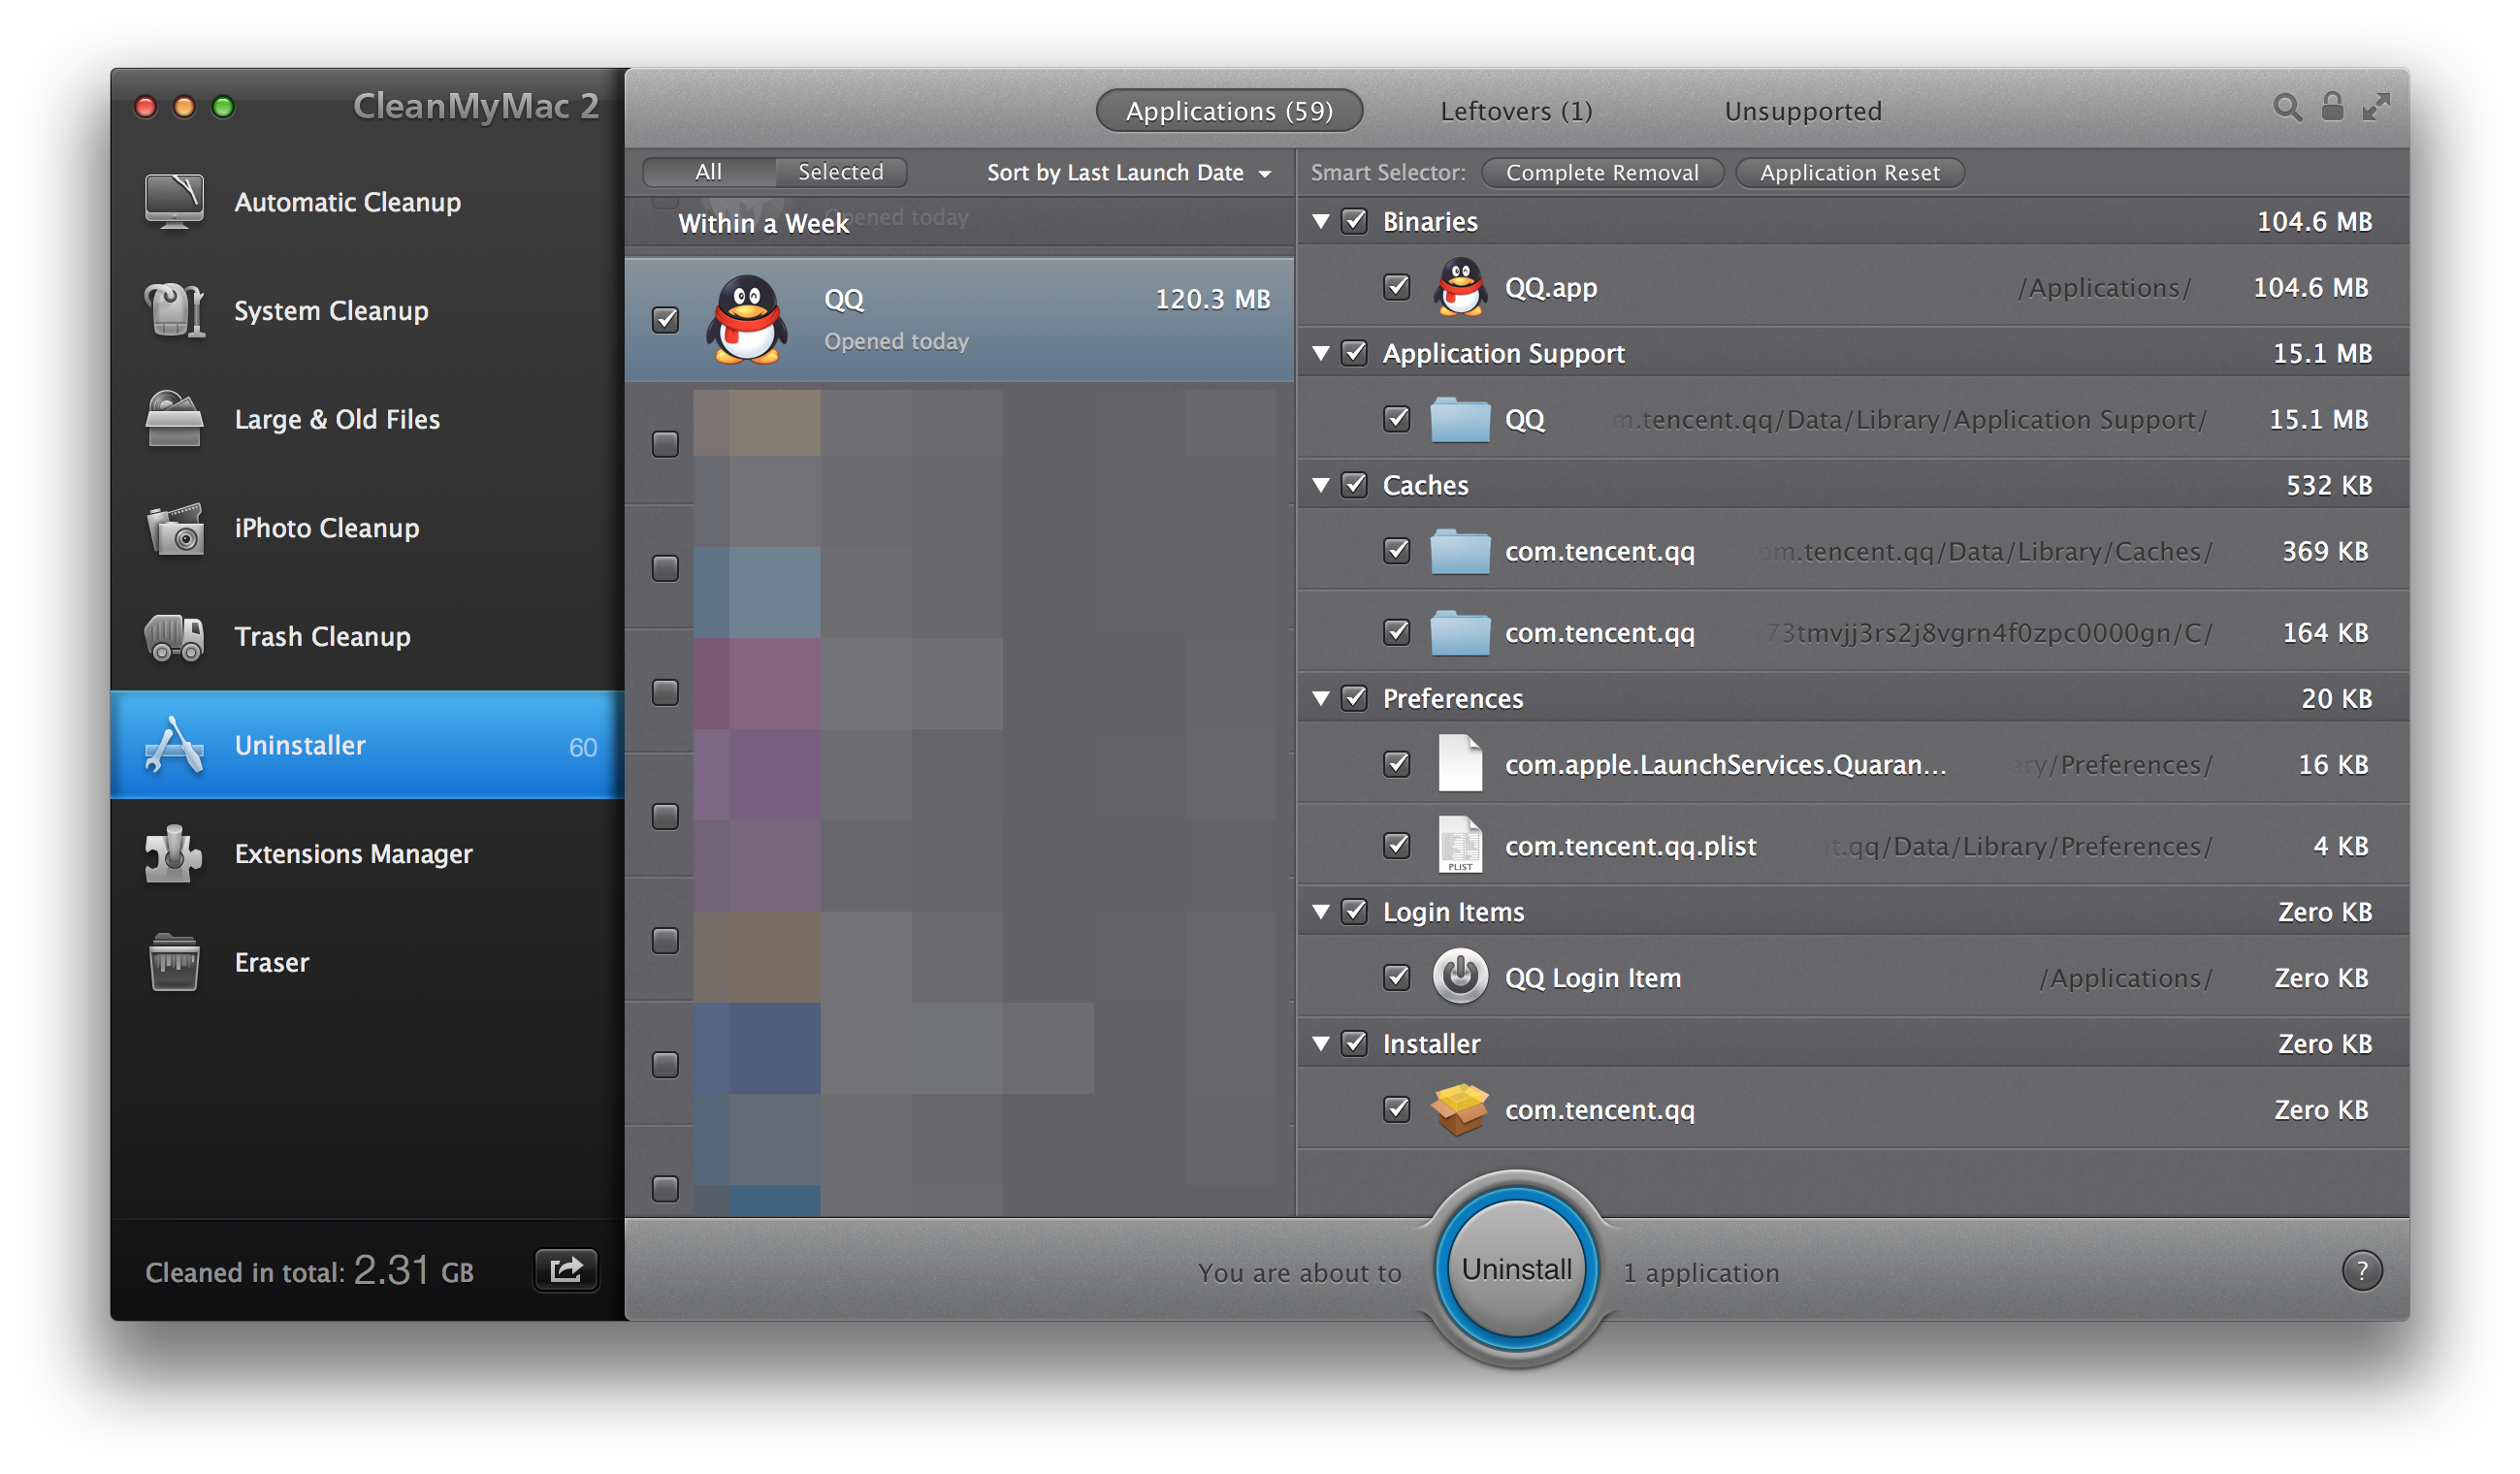
Here’re some folders you should check if you want to cleanup your Mac, all the following folders are also frequently scanned by CleanMyMac. Check and remember these then you won’t need CleanMyMac anymore.
Cache Files
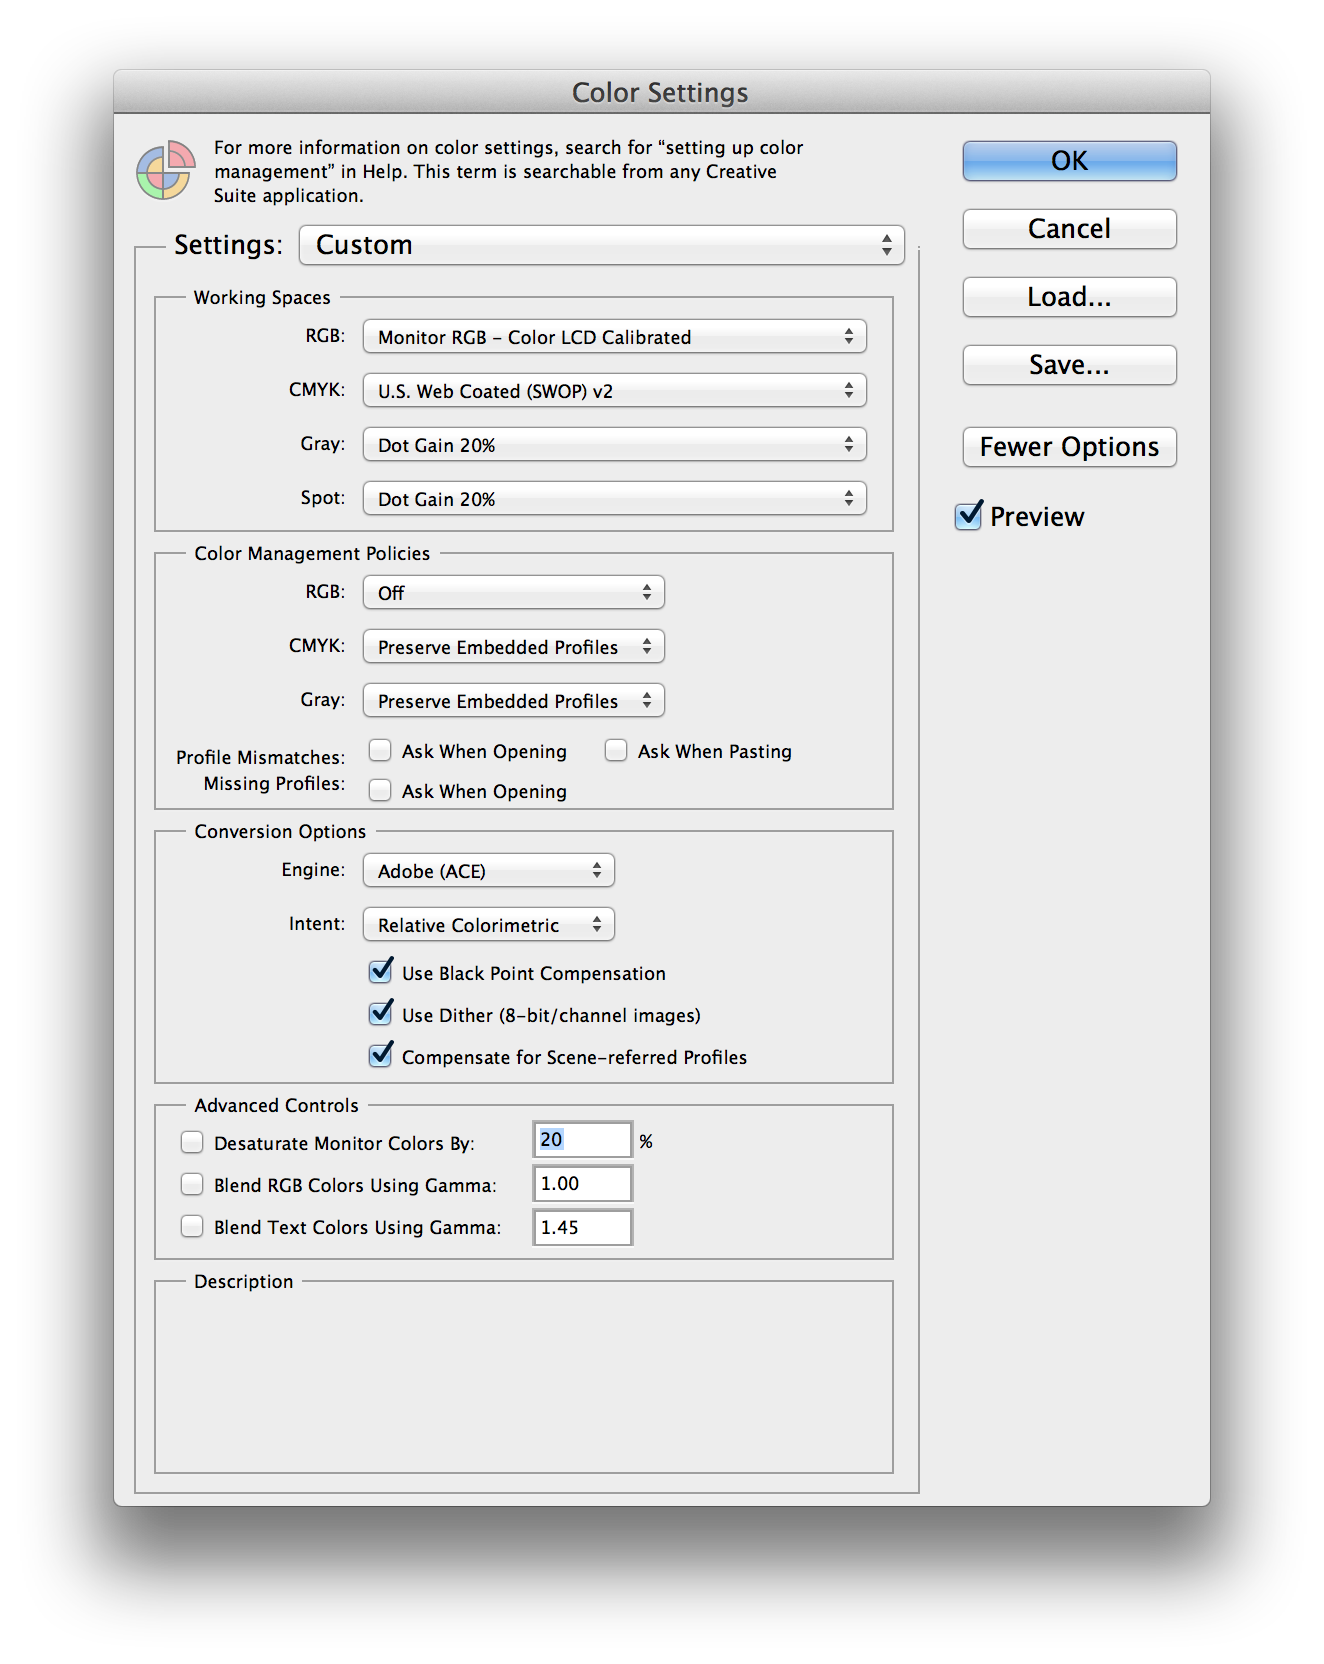
All cache files can be deleted, but there’s no need to remove them too often, Homebrew uses the system cache folder to cache libraries.
/Library/Caches/
~/Library/Caches/
Logs
All logs can be deleted safely.
/Library/Logs/
~/Library/Logs/
Internet Plugins
Some of them are default from OS X. Check the bundle .plist to see if they’re shipped by default. In most cases, your user plugins folder shouldn’t be existed, most of them in this folder can be safely removed. AdobeAAMDetect.plugin is stored in system plugins forder.
/Library/Internet Plug-Ins/
~/Library/Internet Plug-Ins/
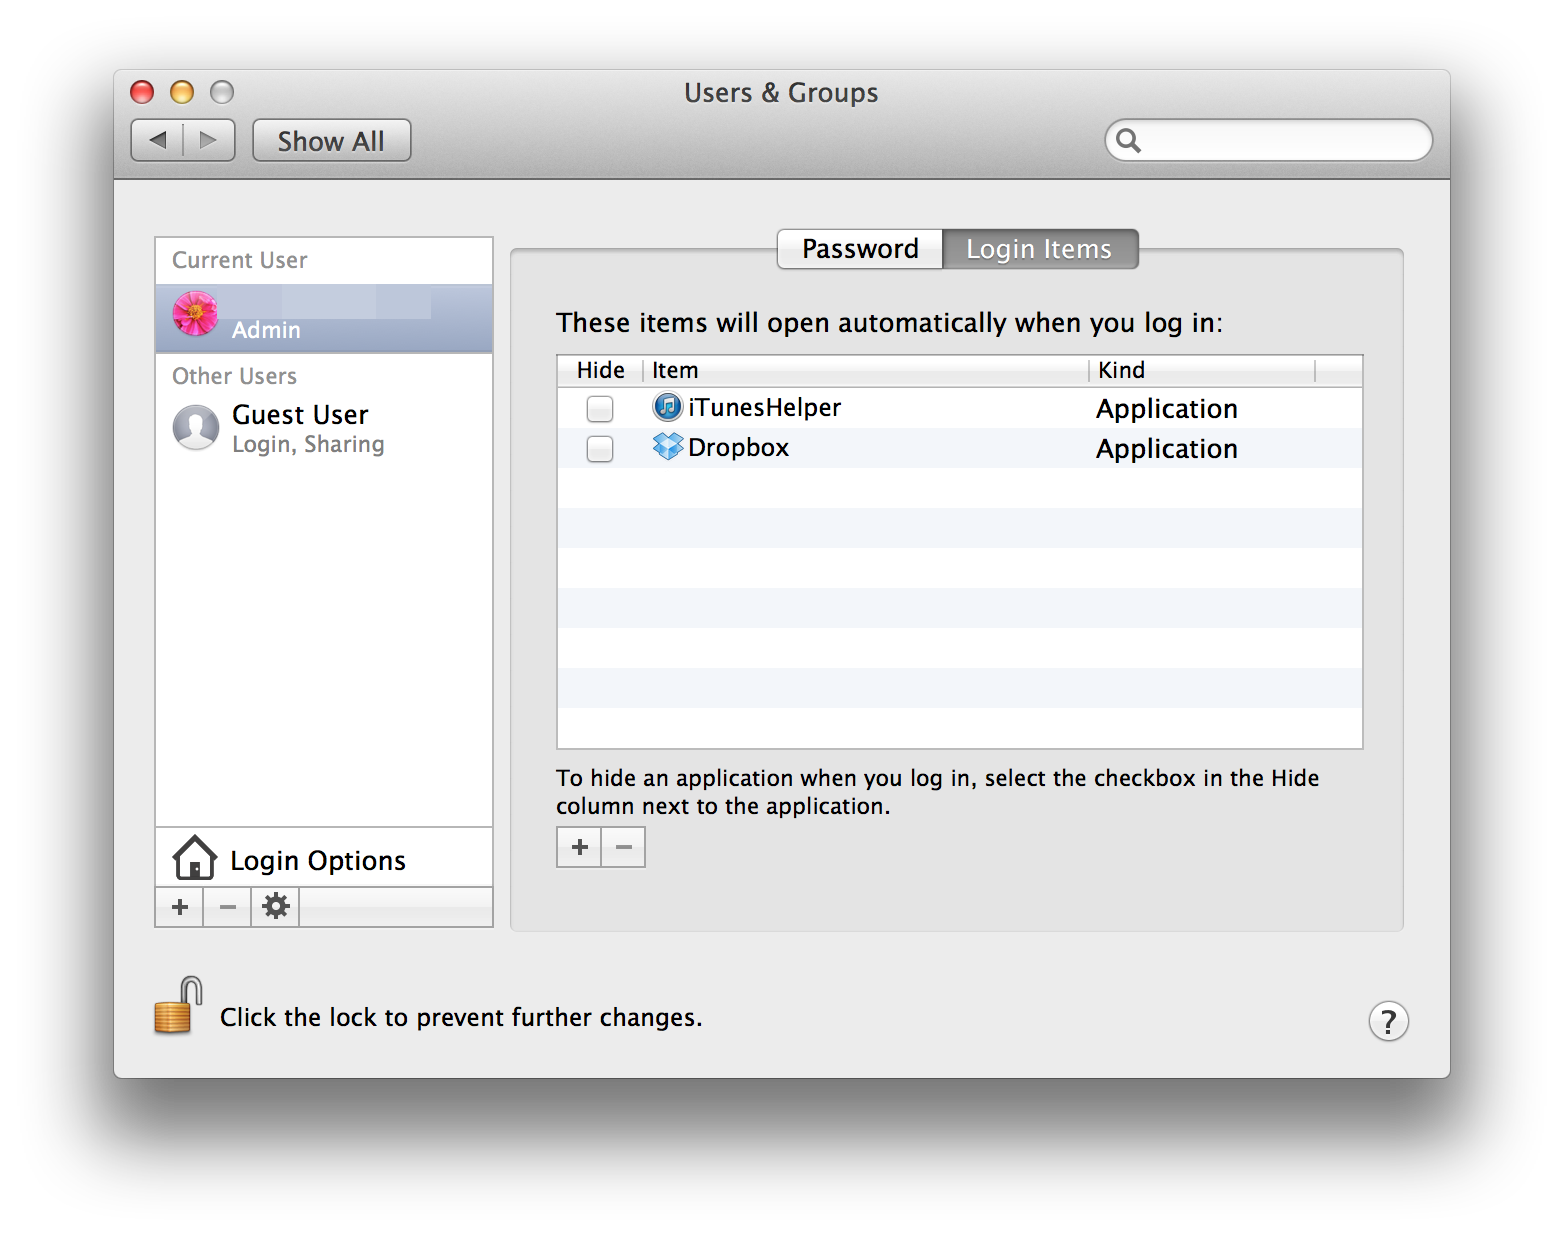
Launch Agents
All files in these folders are safe to delete. I have com.adobe.AAM.Updater-1.0.plist and com.adobe.AdobeCreativeCloud.plist stored in the system launch agents folder, they can be safely deleted.
/Library/LaunchAgents/
~/Library/LaunchAgents/
Launch Daemons
Some apps stored their daemons app here, such as Clean My Mac and Textmate. They’re safe to delete. There’s no user launch daemons folder by default.
/Library/LaunchDaemons
Privileged Helper Tools
Some apps uses privileged helpers to gain more access across different users from your Mac. For example I have com.macpaw.CleanMyMac2.Agent and com.macromates.auth_server in the following folder.
/Library/PrivilegedHelperTools
QuickLook Plugins
There’re two default plugins related to iBooks Author and iWork in system QuickLook folder, my user QuickLook folder is empty.
/Library/QuickLook/
~/Library/QuickLook/
Spotlight Plugins
There’re iBooks Author and iWork plugins, too, plus a Microsoft Office Spotlight plugin shipped with OS X (10.9). My user Spotlight folder is empty.
/Library/Spotlight/
~/Library/Spotlight/